Medu Vada (Crispy South Indian Lentil Donuts)
Introduction
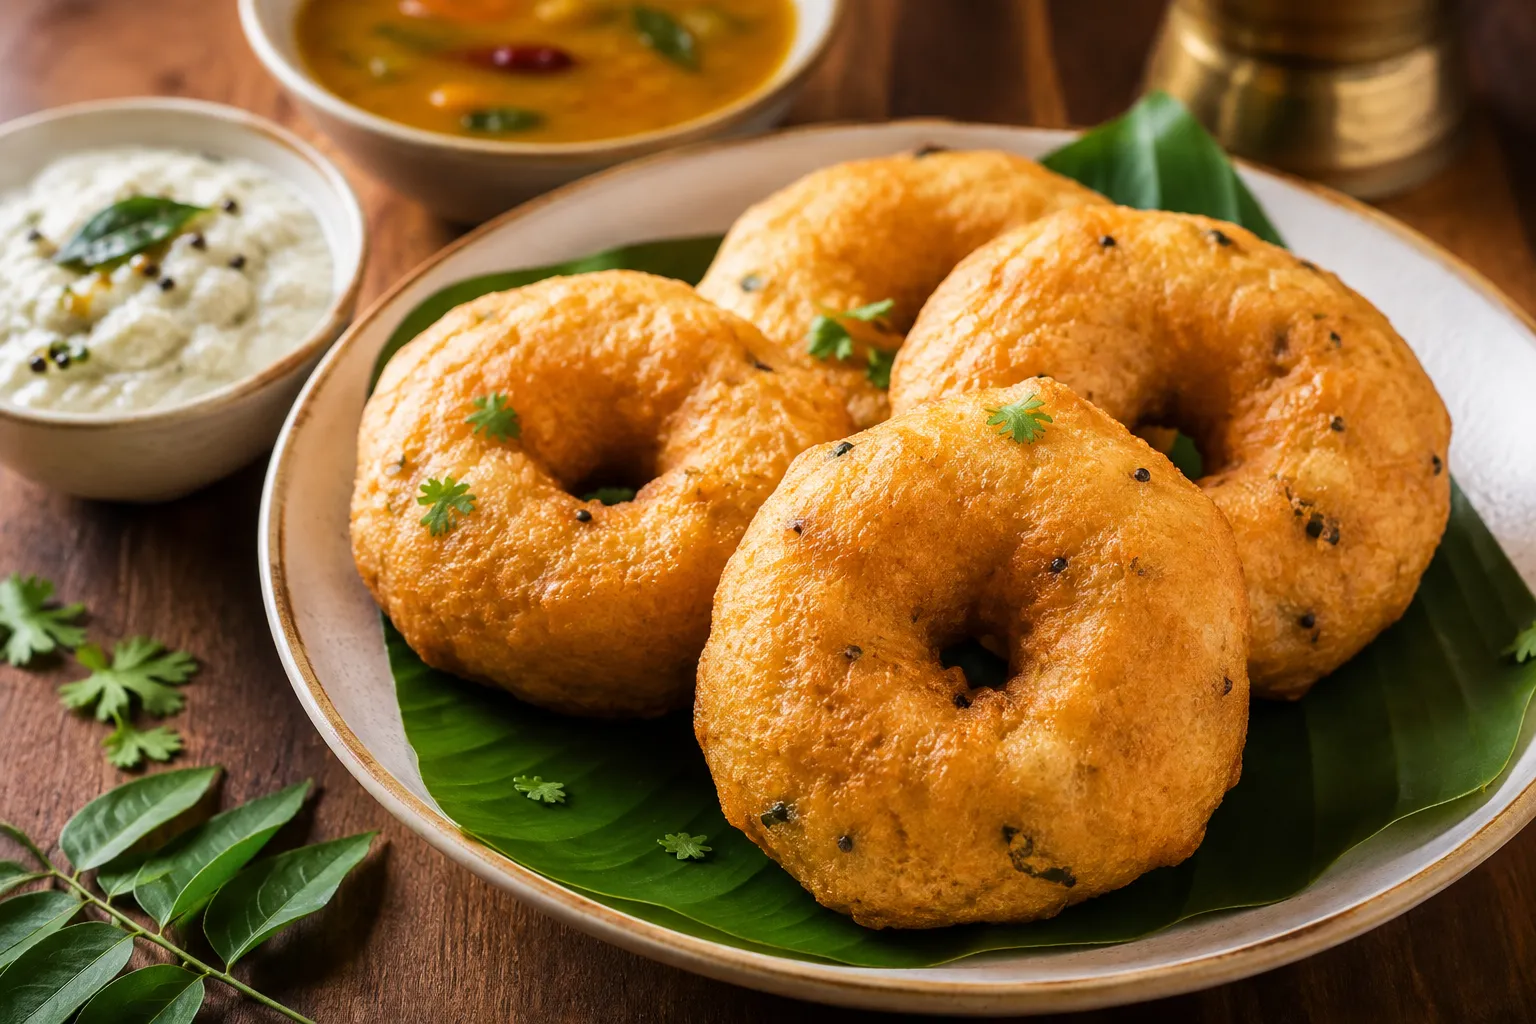
Imagine tearing into a hot, golden-brown medu vada. The exterior is shatteringly crisp, giving way to a cloud-like, pillowy interior infused with the warmth of ginger, green chilies, and earthy curry leaves. When dipped in cold coconut chutney or piping-hot lentil sambar, it is the ultimate South Indian comfort food.
I remember standing next to my grandmother at her kitchen counter, watching her slip perfectly shaped rings of batter into bubbling oil. I was convinced it was magic. But it isn’t magic—it is simply a matter of technique.
While some weekends call for a rich Butter Chicken Recipe, Sunday mornings are made for the crispy satisfaction of a South Indian breakfast spread, starring these vadas alongside a classic Masala Dosa Recipe. Don’t let the shaping process intimidate you. Even if your first few look more like rustic clouds than perfect donuts, they will still taste absolutely incredible. Let’s master this together.
Why You’ll Love This Recipe
- Shatteringly crisp on the outside, light and airy on the inside.
- Uses simple pantry-friendly ingredients with no fancy leavening agents needed.
- Naturally gluten-free, vegan-friendly, and packed with plant-based protein.
- Clear, sensory milestones to help you master the tricky grinding process.
- Includes the foolproof ‘water test’ to guarantee fluffiness every single time.
Ingredients
- 200 g Urad Dal (Split skinless black gram) (soaked for 4-5 hours)
- 1 tbsp Rice Flour (for extra crunch)
- 2 Green Chilies (finely chopped)
- 1 inch Ginger (finely minced)
- 10-12 Curry Leaves (torn into small pieces)
- 1 tsp Black Peppercorns (coarsely crushed)
- 1 tsp Cumin Seeds
- 1/8 tsp Asafoetida (Hing)
- 1 tsp Salt (to taste)
- Oil (for deep frying)
How to Make
Step 1: Soak the Dal
Wash 200g of urad dal thoroughly. Soak in plenty of water for 4-5 hours until the grains swell up and break easily when pressed.
Step 2: Drain and Chill
Drain the dal completely through a colander. Place the drained dal in the refrigerator for 30 minutes to chill, which prevents the blender from heating the batter.
Step 3: Grind with Ice Water
Grind the chilled dal in batches, adding only 1-2 tablespoons of ice-cold water at a time. It should turn into a thick, pale ivory paste.
Step 4: Whip the Batter
Transfer batter to a bowl. Whip vigorously with your hand in a circular motion for 5 minutes until it is airy, light, and passes the water float test.
Step 5: Add Aromatics
Fold in the rice flour, chopped green chilies, minced ginger, torn curry leaves, crushed pepper, cumin, hing, and salt until evenly combined.
Step 6: Shape the Vadas
Wet your hands. Take a portion of batter, shape into a ball on your palm, flatten slightly, and make a hole in the center with your thumb.
Step 7: Fry until Golden
Gently slide the shaped vada into medium-hot oil. Fry on medium heat, turning occasionally, until the exterior is deep golden-brown and the sizzling noise quietens.
Chef’s Tips
- 💡 Chef’s Tip: The Ice Water Trick: Always use ice-cold water when grinding. The friction of mixer-grinder blades heats the batter, destroying the delicate air pockets you want to trap.
- 💡 Chef’s Tip: The Float Test: Never skip dropping a small dollop of whipped batter into a cup of water. If it sinks, keep whipping; if it floats like a cloud, your vadas will be wonderfully airy.
- 💡 Chef’s Tip: Keep the Oil Steady: Keep your flame on medium. If the oil is too hot, the outside of the vada burns while the inside remains raw and pasty.
Common Mistakes to Avoid
- ❌ Adding too much water while grinding. This makes the batter runny and forces the vadas to absorb excessive oil, making them greasy.
- ❌ Skipping the hand-whipping step. Without manual aeration, your vadas will turn out dense, hard, and heavy instead of pillowy.
- ❌ Using warm or room-temperature dal. Warm dal loses its structural integrity; always chill the dal before grinding for the best texture.
- ❌ Frying in cold oil. If the oil isn’t hot enough, the batter will sit at the bottom of the pot, soaking up oil and turning soggy.
💡 Before You Start
Before You Start: Treat this recipe like a baking project. Measure your urad dal carefully and set a timer for the soaking phase. Most importantly, clear a workspace near your stove and place a wide bowl of fresh water right next to your batter. Wetting your hands before shaping each vada is the absolute secret to handling this sticky batter without making a mess.
Variations
- Sambar Vada: Soak the freshly fried vadas in warm water for a minute, squeeze gently, then submerge them in piping hot lentil sambar so they absorb the savory broth.
- Dahi Vada: Soak the fried vadas, squeeze out the water, and smother them in spiced yogurt, sweet tamarind chutney, and roasted cumin powder. You could serve these along with an Authentic Aloo Dum for a unique fusion brunch!
- Onion Vada: Stir finely chopped red onions into the batter right before frying for a sweet, caramelized crunch in every single bite.
Serving Suggestions
- The Weekend Breakfast Feast: Serve these hot, crispy vadas alongside fresh coconut chutney and hot sambar for a comforting Sunday family breakfast.
- Monsoon Afternoon Tea: Pair these crispy delights with a cup of hot, spiced Masala Chai on a rainy afternoon.
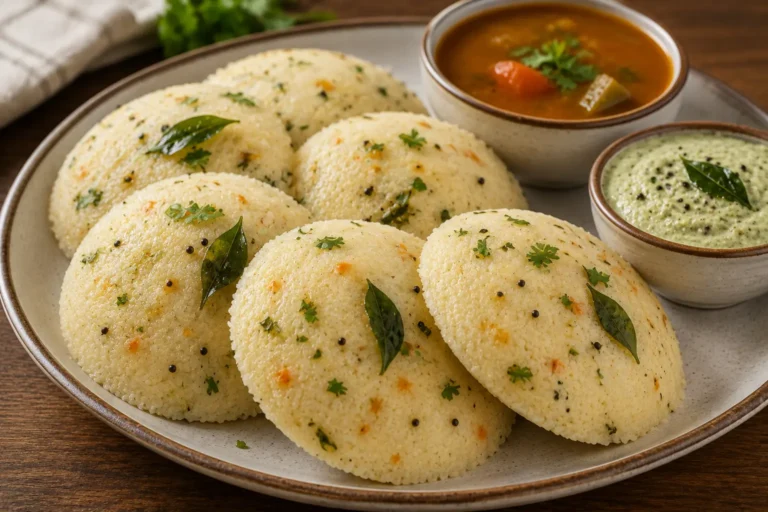
- Festive Brunch Spread: Serve them alongside soft idlis and golden dosas during family get-togethers to recreate an authentic South Indian dining experience.
- Quick Weeknight Dinner: Pair vadas with a simple tomato-onion chutney for a light, comforting, and highly satisfying weeknight meal.
Storage
Store any leftovers in an airtight container in the refrigerator for up to 2 days. To store them longer, freeze the fried vadas on a baking sheet, then transfer them to a freezer-safe bag for up to 1 month.
Reheating
To revive that signature crunch, reheat the vadas in an air fryer at 180°C (350°F) for 4 to 5 minutes, or toast them in a preheated oven. Avoid microwaving, as this makes the crust soggy and rubbery.
Frequently Asked Questions
Why did my medu vadas turn out dense and hard?
This happens when the batter hasn’t been aerated enough. Make sure to whip the batter vigorously with your hand for at least 5 minutes until a small dollop floats on water.
How can I fix a runny vada batter?
If your batter becomes too thin to shape, mix in 1 to 2 tablespoons of rice flour or fine semolina (suji). This absorbs the excess moisture without ruining the texture.
Why are my vadas absorbing too much oil?
Vadas absorb excess oil if the batter has too much water, or if the frying oil isn’t hot enough. Always perform the float test on your batter and check your oil temperature before frying.
Can I grind the urad dal in a standard food processor?
A high-speed blender, Indian mixer-grinder, or traditional wet grinder works best. Standard food processors can struggle to grind the dal smoothly without requiring too much water.
What is the best oil for deep frying Medu Vada?
Use any neutral oil with a high smoke point, such as sunflower, canola, peanut, or vegetable oil, to ensure clean frying without imparting off-flavors.
Can I prepare the Medu Vada batter in advance?
Yes, you can grind the batter and store it in an airtight container in the fridge for up to 24 hours. Do not add salt, onions, or fresh aromatics until right before you fry, as they release moisture.
Conclusion
Mastering Medu Vada is a true badge of honor for any home cook. Once you understand the sensory cues—the feel of the thick batter, the magic of the water float test, and the sound of the frying oil settling down—you will be making restaurant-quality vadas with absolute confidence. Keep your hands wet, take your time, and enjoy every crispy bite!
Recipe Index
More Recipes You’ll Love
Medu Vada (Crispy South Indian Lentil Donuts)
Ingredients
Method
- Wash 200g of urad dal thoroughly. Soak in plenty of water for 4-5 hours until the grains swell up and break easily when pressed.
- Drain the dal completely through a colander. Place the drained dal in the refrigerator for 30 minutes to chill, which prevents the blender from heating the batter.
- Grind the chilled dal in batches, adding only 1-2 tablespoons of ice-cold water at a time. It should turn into a thick, pale ivory paste.
- Transfer batter to a bowl. Whip vigorously with your hand in a circular motion for 5 minutes until it is airy, light, and passes the water float test.
- Fold in the rice flour, chopped green chilies, minced ginger, torn curry leaves, crushed pepper, cumin, hing, and salt until evenly combined.
- Wet your hands. Take a portion of batter, shape into a ball on your palm, flatten slightly, and make a hole in the center with your thumb.
- Gently slide the shaped vada into medium-hot oil. Fry on medium heat, turning occasionally, until the exterior is deep golden-brown and the sizzling noise quietens.