Ingredients
Equipment
Method
- In a large mixing bowl, whisk together the all-purpose flour, baking powder, baking soda, sugar, and salt until evenly distributed.
- Add the yogurt and vegetable oil to the flour mixture. Rub them in with your fingers until the mixture looks crumbly. Gradually pour in the lukewarm water, starting with 80 ml (1/3 cup), and mix to bring the flour together into a soft, slightly sticky dough. Add more water if needed.
- Transfer the dough to a clean, lightly floured surface and knead gently for 3 to 5 minutes until smooth and pliable. Shape into a ball, coat with a few drops of oil, place back in the bowl, cover with a damp cloth, and let it rest for 30 minutes at room temperature.
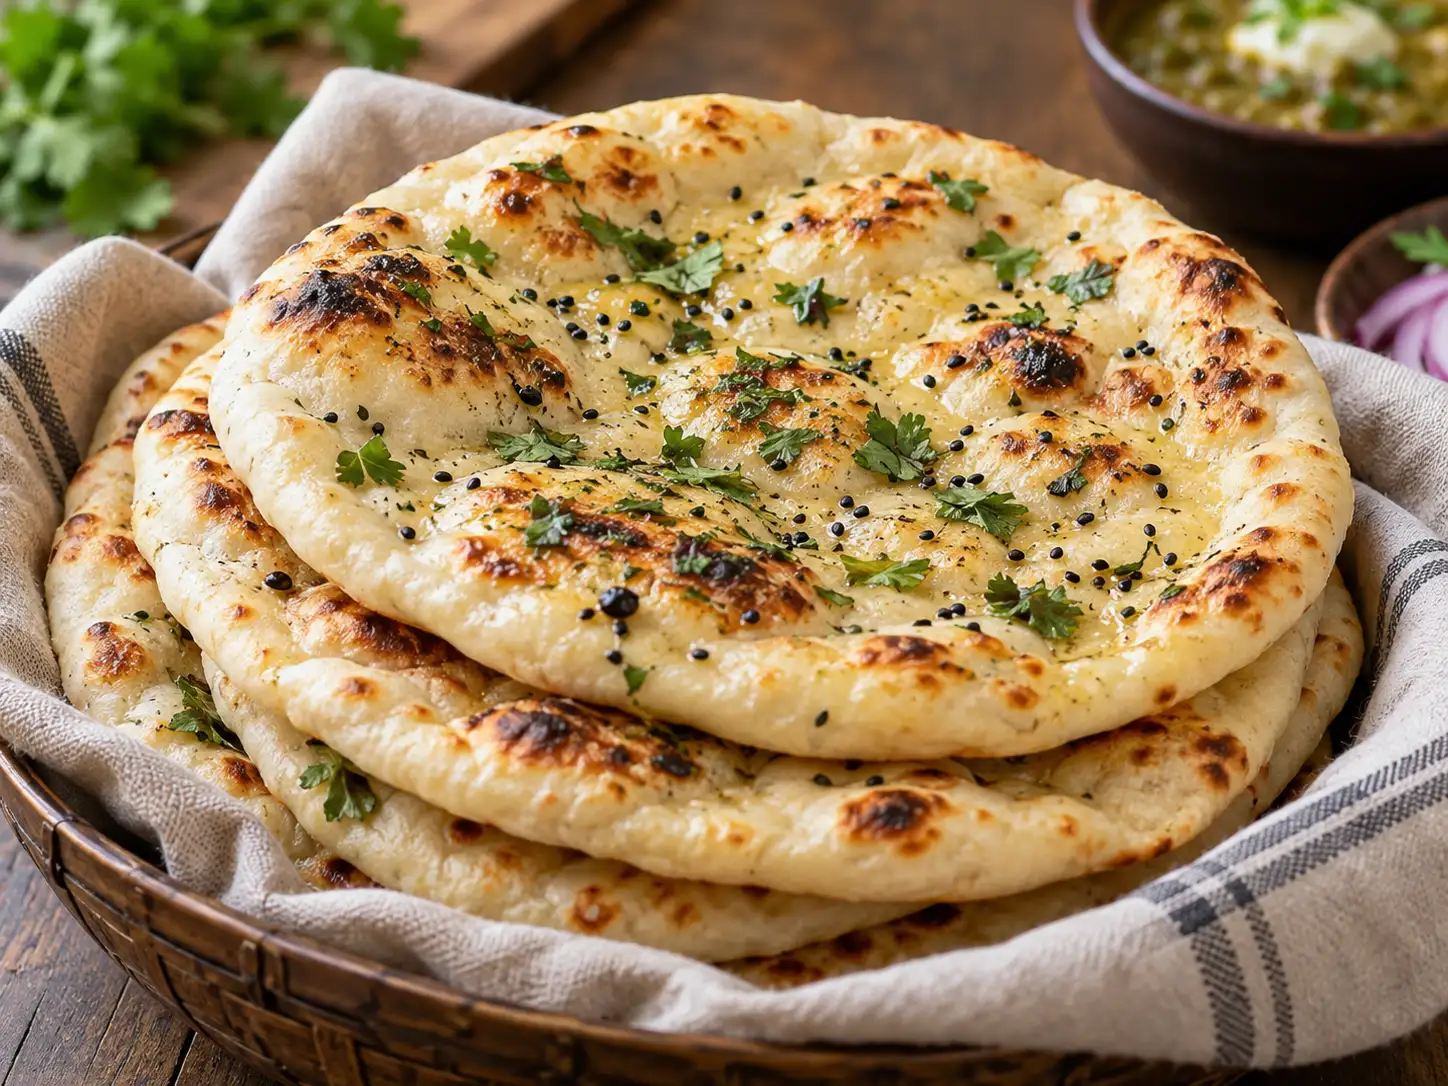
- Divide the rested dough into 6 equal portions. Roll each portion into a smooth ball. Dust a dough ball lightly with flour. Press a pinch of nigella seeds and chopped coriander leaves onto one side of the ball.
- Gently roll the dough ball with a rolling pin into an oval or round shape about 5-6 mm (1/4 inch) thick. Avoid rolling too thin to keep the flatbread soft and pillowy.
- Heat a heavy tawa or cast-iron skillet over medium-high heat. Test the heat by splashing a few drops of water; they should sizzle and evaporate immediately.
- Place the rolled kulcha on the hot pan with the topping side facing up. Cook for 30 to 45 seconds until small bubbles start to appear on the surface. Splash 1 tablespoon of water around the edges of the pan (avoid splashing directly onto the kulcha) and immediately cover with a tight lid. Cook covered on medium heat for 1 to 1.5 minutes to let the steam cook the bread through.
- Remove the lid, flip the kulcha over, and cook the topping side uncovered for 30 to 45 seconds. Press gently with a spatula until light brown spots appear on the bottom. Remove from the pan, brush with melted butter or ghee, and serve hot.
Notes
Keep the uncooked dough balls covered with a damp cloth while cooking to prevent them from drying out.
Ensure your pan has a tightly fitting dome lid to properly trap the steam during step 7.
Ensure your pan has a tightly fitting dome lid to properly trap the steam during step 7.